Sitespeed.io 8.1
Yesterday we released 8.1! There’s a couple really cool new things, read about what’s new:
- Filmstrip
- Server timings
- New Chrome and Firefox
- New command: run JavaScript and wait for page complete
- Example: Measure shopping/checkout process
- Changlog
Filmstrip #
A couple of years ago we got a feature request from Rod Barlow to add a filmstrip view. A great idea and we already have the screenshots automatically from Visual Metrics so it should be easy to fix right? Well there where alot of other things with higher prio so it took some time.
The filmstrip view is inspired by Stefan Burnickis work on https://github.com/iteratec/wpt-filmstrip. Much love to Stefan that created it!
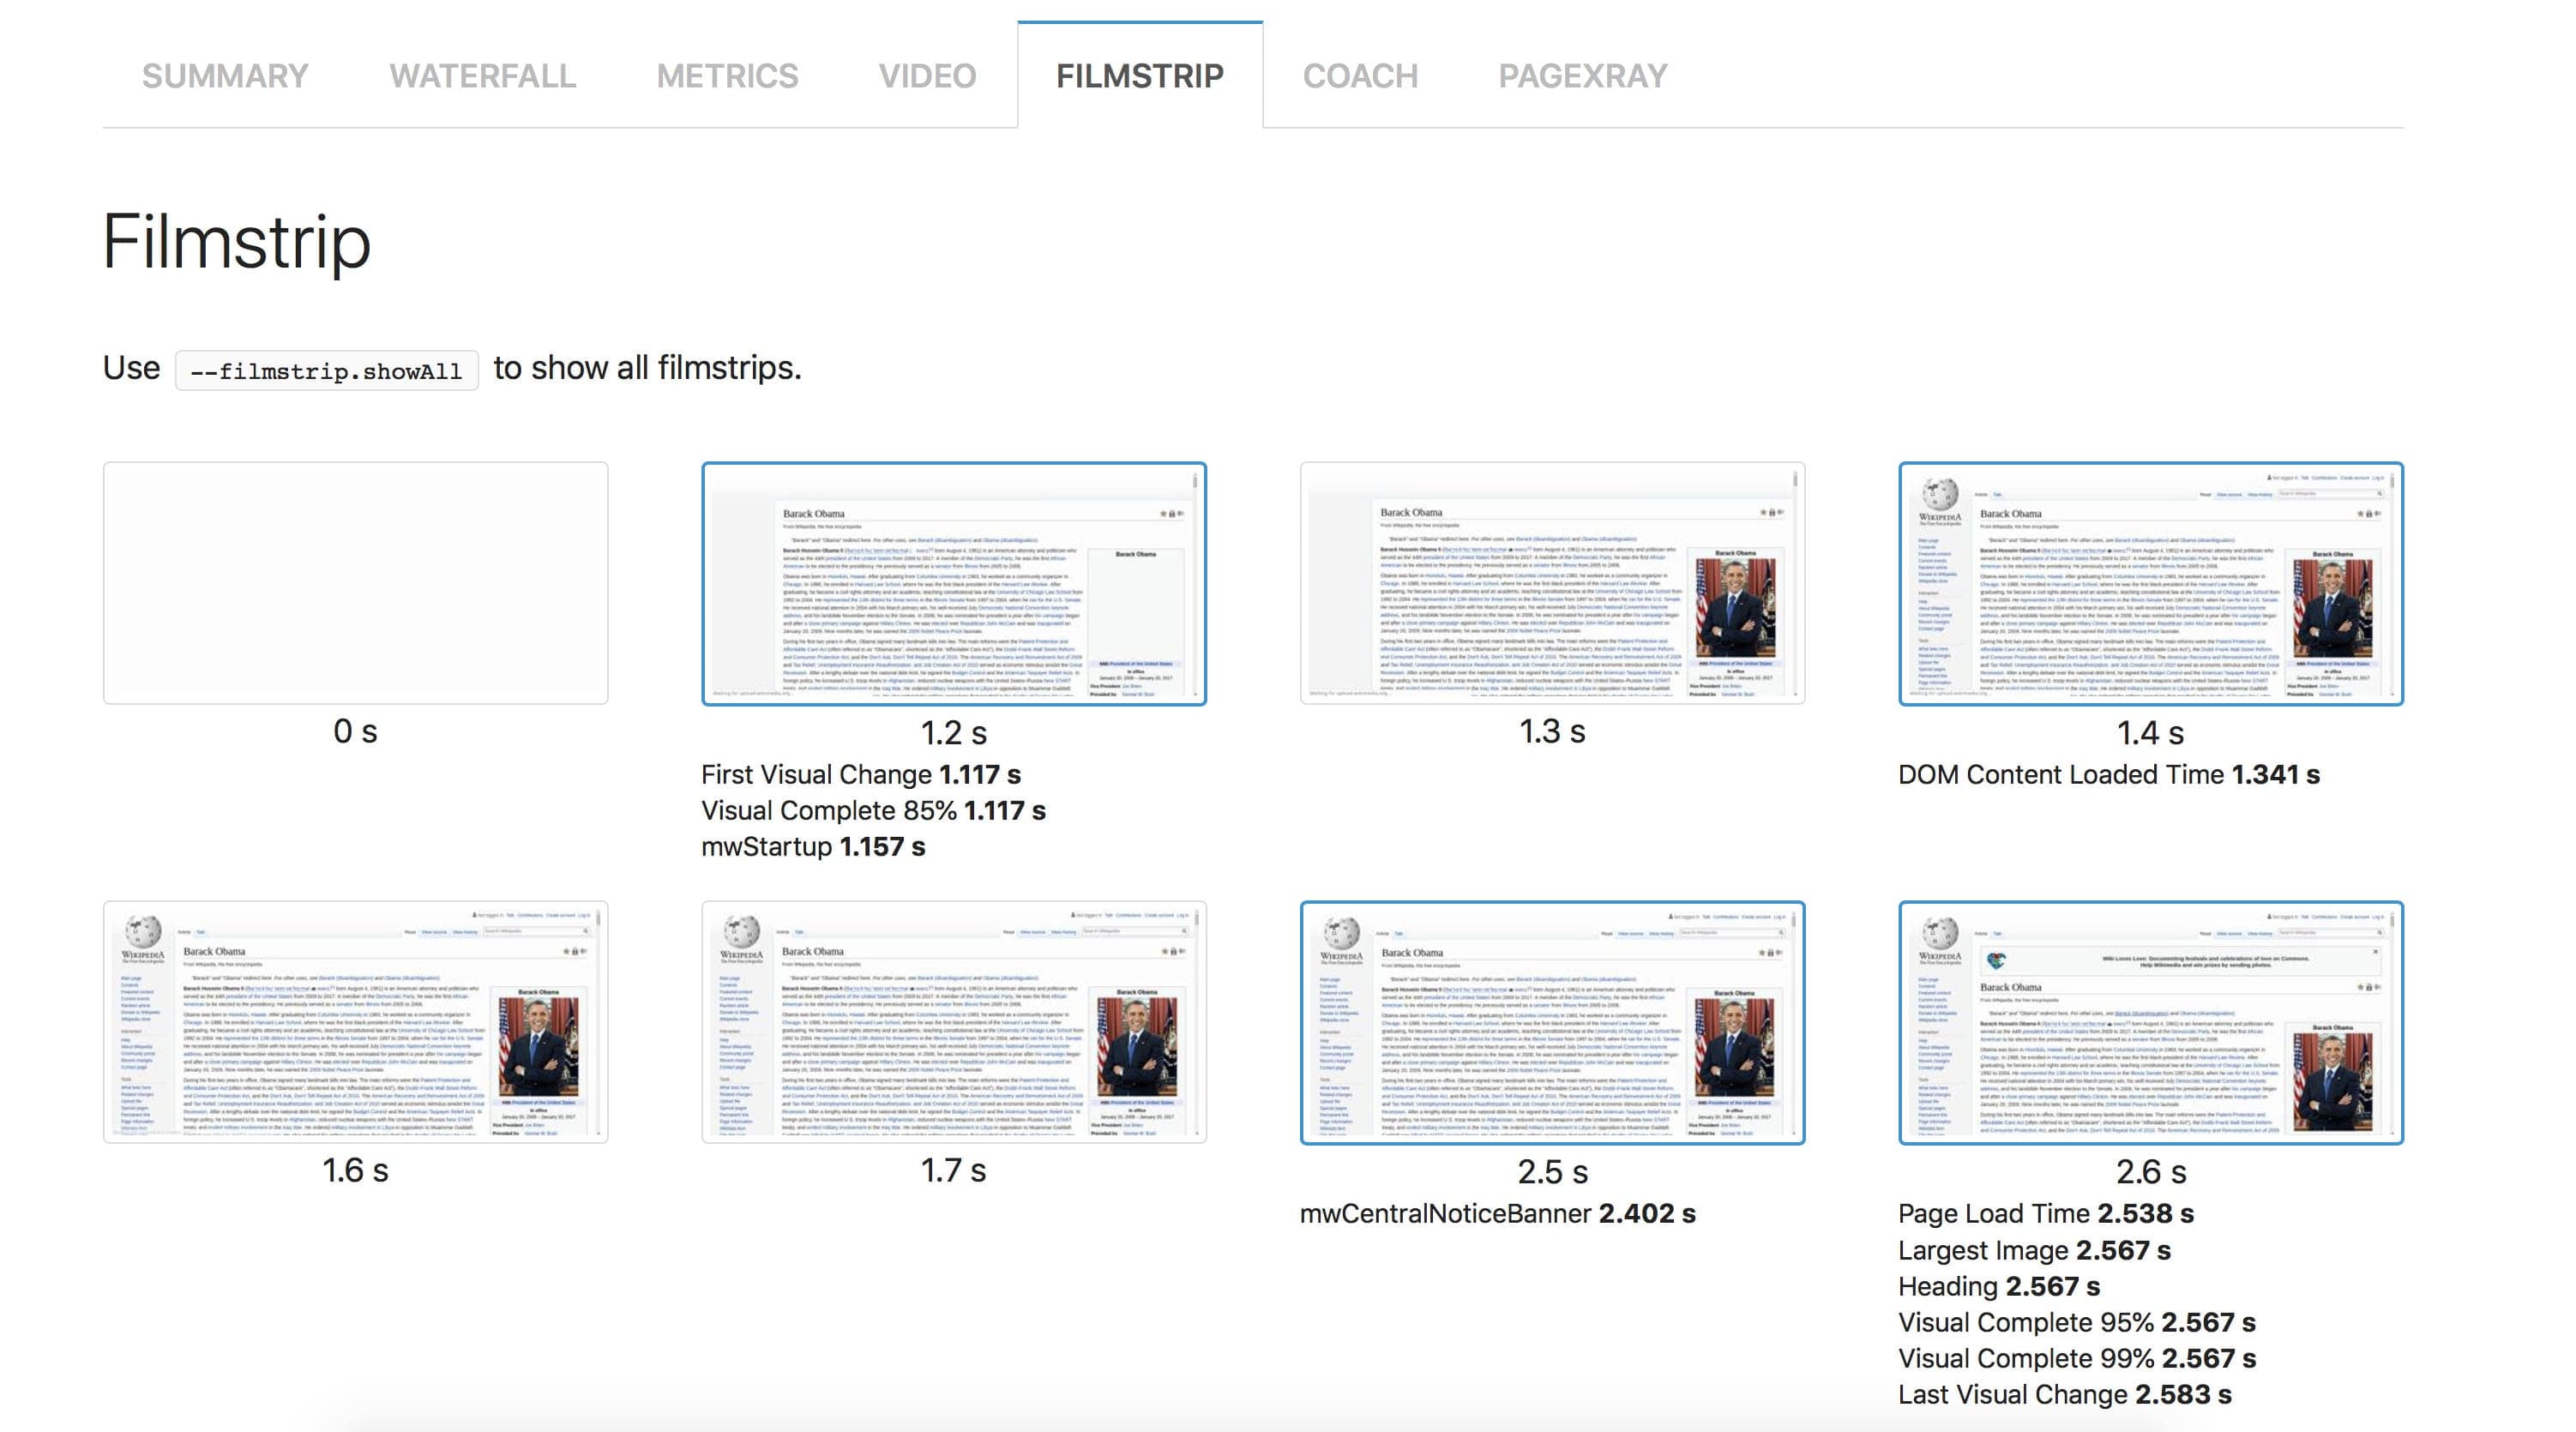
If you run sitespeed.io and have video turned on (default when you use Docker) you will then get a new filmstrip tab. By default a 100 ms timespan will be used and all screenshots that are unique or have a metric tied to it will be shown. It looks like this:

If you want to see all screenshots (for every 100 ms) you can do that with --filmstrip.showAll.
You can change the quality of the filmstrip screenshots with --videoParams.filmstripQuality and make full size screenshots with --videoParams.filmstripFullSize (Warning: full screenshots will take up more space and it take more time to run).
Server timings #
In a couple of releases ago we made it so Browsertime automtically pickup server timings. And how you can see them in the HTML result. This is the first step of using server timings. Later on we can add so we make it possible to store them in Graphite/Grafana.
You will find server timings in the Metrics tab.

New Chrome and Firefox #
The Docker container now uses Chrome 72, Firefox 65 and latest ChromeDriver/GeckoDriver. It’s good to stay updated to the latest versions since your users is auto updating the browser. You want to be on top of that and use the same version.
New command: run JavaScript and wait for page complete #
There’s a new command js.runAndWait('') that makes it possible to run your own JavaScript, click a link and wait on page navigation. This is super handy if you want to navigate using JavaScript.
Example: Measure shopping/checkout process #
I want to highlight that we have an example section in the documentation on how you can use the new scripting introduced in 8.0.
Today I want to show how you test your shopping/checkout process. What’s really cool here IMHO is that you measure every step. And then if you run it multiple times you can use the median to get a more stable metrics.
This is an example shop where you put one item in your cart and checkout as a guest.
module.exports = async function(context, commands) {
  // Start by measuring the first page of the shop
  await commands.measure.start('https://shop.example.org');

  // Then the product page
  // Either your shop has a generic item used for testing that you can use
  // or in real life you maybe need to add a check that the item really exists in stock
  // and if not, try another product
  await commands.measure.start('https://shop.example.org/prodcucs/theproduct');

  // Add the item to your cart
  await commands.js.run('document.querySelector(".add-to-cart").click();');

  // Go to the cart (and measure it)
  await commands.measure.start('https://shop.example.org/cart/');

  // Checkout as guest but you could also login as a customer
  // We hide the HTML to avoid that the click on the link will
  // fire First Visual Change. Best case you don't need to but we
  // want an complex example
  await commands.js.run('document.body.style.display = "none"');
  await commands.measure.start('CheckoutAsGuest');
  await commands.js.runAndWait('document.querySelector(".checkout-as-guest").click();');
  // Make sure to stop measuring and collect the metrics for the CheckoutAsGuest step
  await commands.measure.stop();

  // Finish your checkout
  await commands.js.run('document.body.style.display = "none"');
  await commands.measure.start('FinishCheckout');
  await commands.js.runAndWait('document.querySelector(".checkout-finish").click();');
  // And collect metrics for the FinishCheckout step
  return commands.measure.stop();
  // In a real web shop you probably can't finish the last step or you can return the item
  // so the stock is correct. Either you do that at the end of your script or you
  // add the item id in the context object like context.itemId = yyyy. Then in your
  // postScript you can do what's needed with that id.
};
Changlog #
To see all changes you need to read the changelog.
/Peter